Installing the server
Please do the following:
-
In the welcome dialog, click Next and then confirm the End User License Agreement (EULA) in the following dialog.
-
Now indicate the role your new DriveLock Enterprise Service (DES) will take. Here, select the DES option.
The first DES you create must always be a central DES.
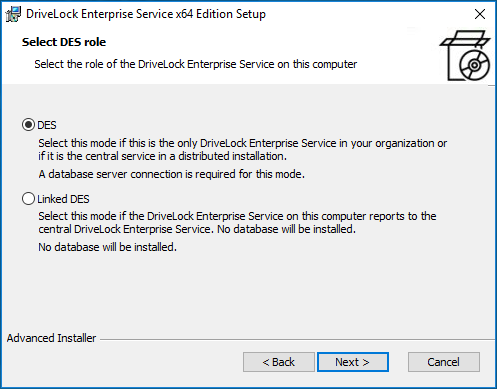
You can select the Linked DES option if your infrastructure is already set up with central DES and you want to add or register a linked DES. An overview of the infrastructure with a linked DES can be found here. In this case, you don't have to create a database again.
-
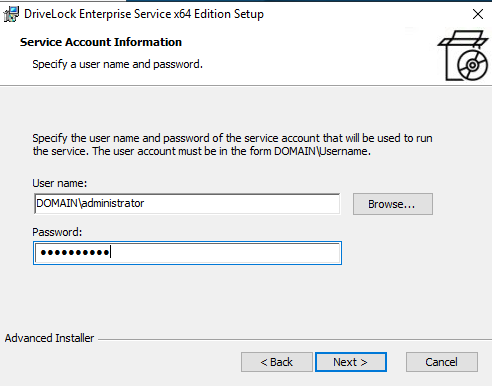
In the next dialog, enter the service account and the corresponding password you want to use for running the DriveLock Enterprise Service.
Click Browse... to select an existing account.
-
After you have entered the account and password for the new DES, you will see the following dialog:
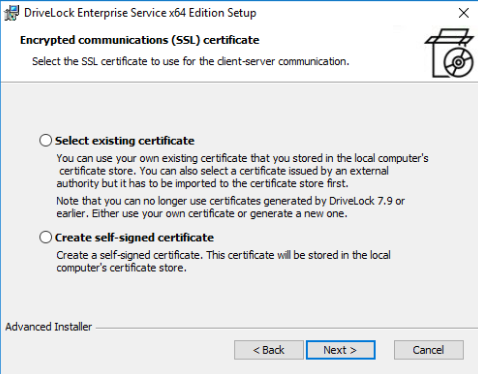
Here you have two options:
-
Choose Select existing certificate if you have your own certificate in the computer's certificate store and want to use it.
Click Next and then select the certificate from the list below More choices in the next dialog.
-
Select Create self-signed certificateif you want DriveLock to create an SSL certificate for you. This option may be recommended if you are using DriveLock in test environments.
-
-
Click Install in the next dialog to continue installing the DES.
-
Click Finish to complete the installation. The Database Installation Wizard will then start automatically.