Installing the server
Please do the following:
-
In the welcome dialog, click Next and then confirm the End User License Agreement (EULA) in the following dialog.
-
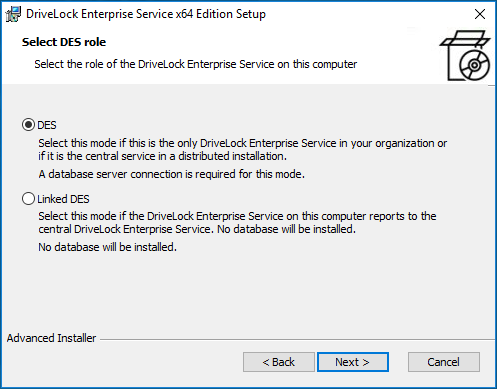
Now indicate the role your new DriveLock Enterprise Service (DES) will take. Select the DES option to create a central DES.
The first DES you create must always be a central DES.
You can select the Linked DES option if your infrastructure is already set up with a central DES and you want to register or add a linked DES. In this case, no database needs to be created.
Please note that in the vast majority of cases it is not necessary to create a linked DES!
If you are using DriveLock Managed Services, you can use a linked DES in addition to the central DES in the cloud.
-
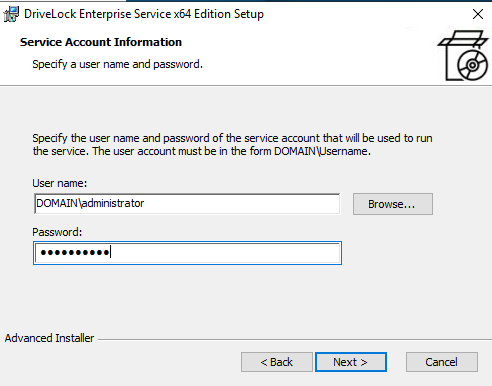
In the next dialog, enter the service account and the corresponding password you want to use for running the DriveLock Enterprise Service.
Click Browse... to select an existing account.
Group managed service accounts (gMSAs) are supported.
-
Click Install in the next dialog to continue installing the DES.
-
Click Finish to complete the installation. The DriveLock Server Setup wizard then starts automatically.