How to create a campaign step by step
If you are creating a campaign for the first time and want to assign it to an agent followed by an evaluation, proceed as follows.
-
Open Awareness in the Security Controls menu.
-
If you have licensed the Content AddOn, all packages will automatically appear on the Content Packages tab. To see what kind of content a campaign has, select it and review the description on the right in the Details pane in the Properties. You can group the packages by content type or by name. The "Working in the cloud" training package is the example here.
Note that the packages must first be synchronized before they are assigned to campaigns if you are using DriveLock On-Premise. Then, the server downloads them so they can be redistributed to agents.
-
To create a campaign with this package, select Working in the cloud. Right-click to open the context menu or select the
 button. Select Create campaign.
 -
Enter a name and description for the campaign or accept the input. Next, specify the priority for the campaign execution order (settings from 1 - 10, order descending). Campaigns with the same priority will be displayed in random order.
-
In the next step, select who the campaign will be assigned to. Add a user group here, which you have to define beforehand.
-
If required, you can define a start and end time for the campaign.
-
Optionally, you can send all users an invitation e-mail to attend the campaign.
All automatically generated e-mails (for example, reminder or invitation e-mails) are sent by DriveLock according to an internal schedule (once a day).
-
Optionally, you can specify when you want users to be reminded of the campaign.
-
-
Once you click Finish , the new campaign will appear on the Campaigns tab.
-
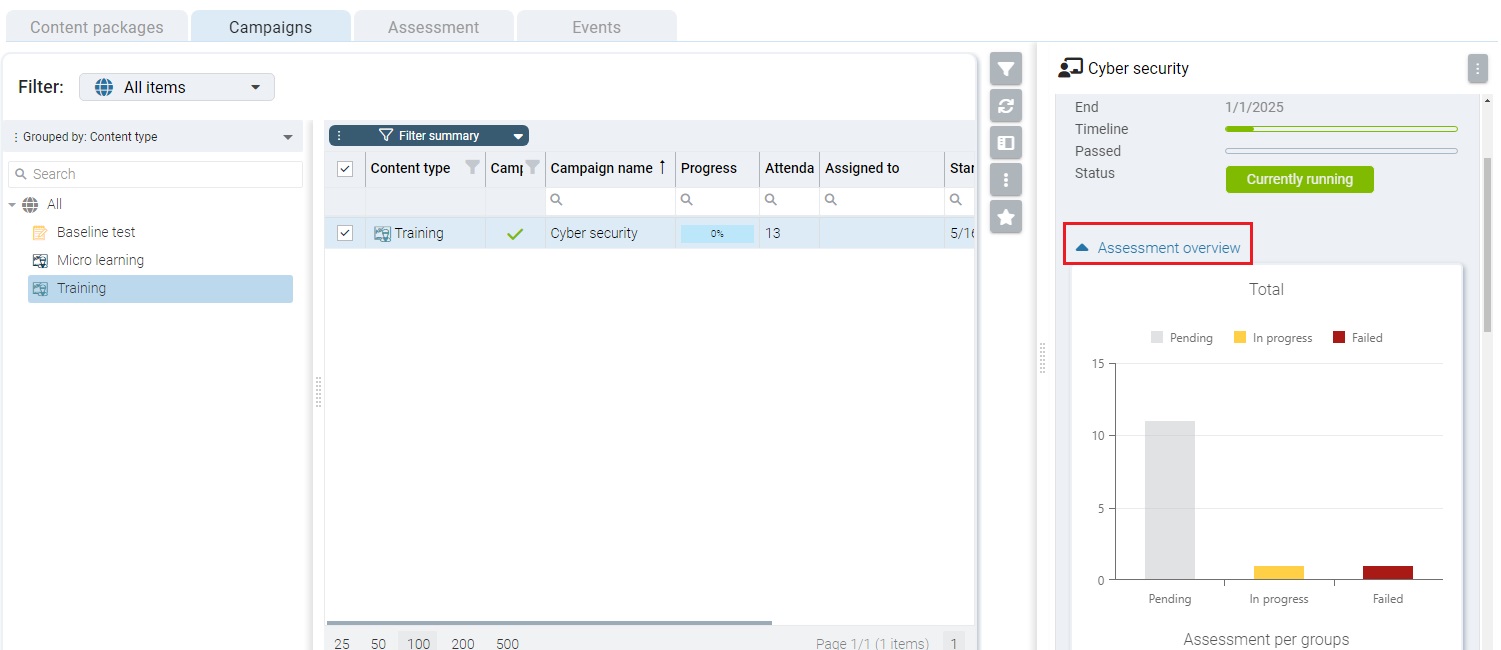
Here you can edit, delete, deactivate the campaign or reduce or increase its priority. Once the campaign has been executed, you can already see the status in the Detail view at Assessment overview.
Note that the total number may increase as additional users log in to their DriveLock agents who are not previously registered as members.
In the display, the campaigns can take on different text colors. Dark gray if the current date is outside the start and end range. Light gray when the campaign is disabled. Black is the normal text color.
-
If you click on the green area, the tab Evaluations opens automatically with further information
Here you can take a closer look at individual sessions of campaigns using various filters and groupings.
-
The Events tab displays the relevant security awareness events.